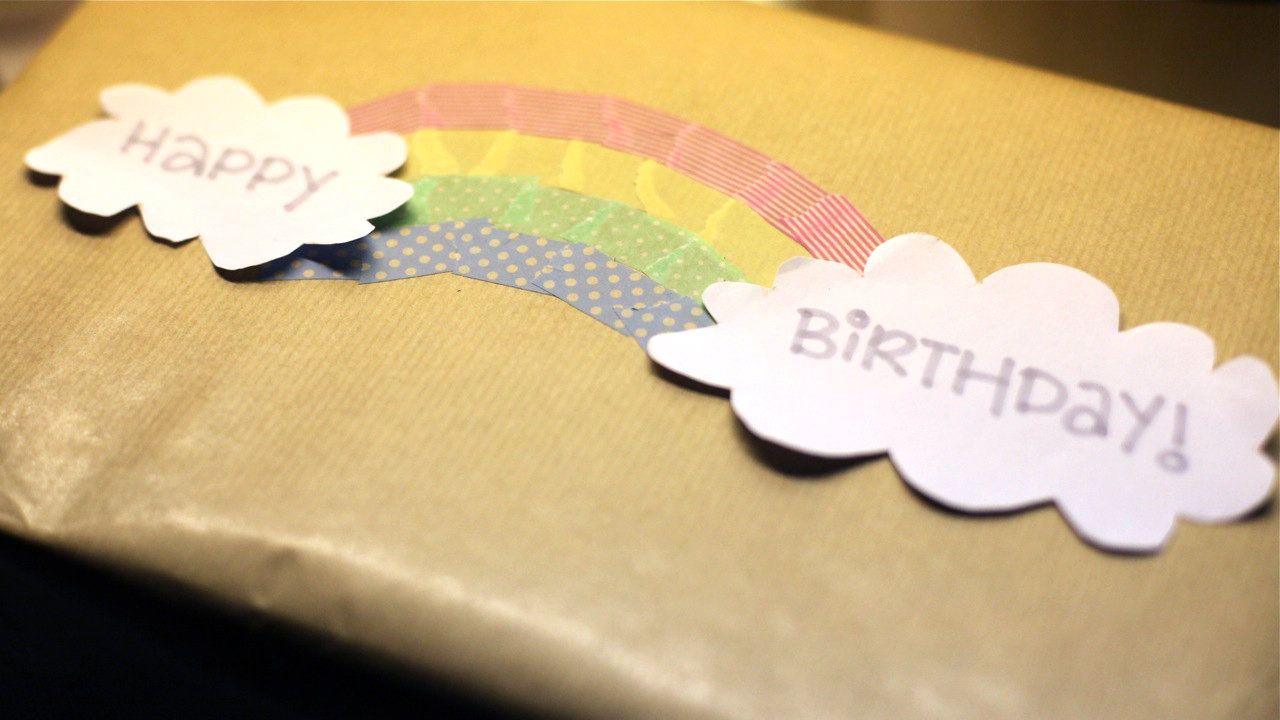
Making this was pretty simple, and you probably have the materials in your home. We made this out of a plastic milk carton (which a friend donated to us), LED fairy lights (that you might have in the storeroom with your christmas decorations), and some pretty tapes.
Here's how to make your own lamp:
1. Decide on the shapes you would like to decorate your lamp. We chose stars, but anything goes, so long it is relatively easy to cut out. Larger shapes are easier to work with. Trace these shapes out on a piece of transparency.

2. Taking a clean 2 litre plastic milk carton, cut the carton into half. You might need to trim the edges to ensure that the four sides are relatively even, so that the lamp can sit properly later.

3. Start sticking down pieces of tape to decorate the shapes you have drawn.
Key instructions to tell the kids:- The pieces should overlap and there should not be any gaps.
- They can mix and match patterns, but to avoid very crazy patterns you could restrict them to two to three tapes per shape. We used two types of tapes per shape.
- They need to tape over the outlines of the shapes drawn.

4. It would start looking like a colourful crazy mess. Once the kids are done, cut out the shapes following the outline, while cutting inside the lines so that the lines would not show up in the final product.

5. Stick these shapes down onto the plastic carton, using white craft glue (PVA), which dries clear.
6. After the glue has dried, invert your carton and stuff your fairy lights in. Flip the carton over, and you have your very own little lamp!

Junior J helped me with sticking the bits of tape onto the stars. We used Scotch Expressions Tapes by 3M, which includes various types of decorative tapes such as magic, washi and masking tape. We used their magic tapes, which are made of plastic, and can be torn by hand. Do note that if you are doing this craft with kids, they might need help to cut/tear the magic tapes, as the thinner plastic means that the tapes sometimes might split when you are peeling them. Also, it might be a better option to use washi tape, which is made of paper, since it is easier to tear these tapes. Washi tape is unlikely to split during the peeling process, and is residue-free (it does not leave a sticky residue when you peel it off a sheet of paper) and repositionable.
I left the hubby to supervise the boys while I went to settle baby J, and came back to see this:

I laughed so hard to see these two boys with all the tape labels all over themselves! It was Lil J's idea, since he was bored while his brother was helping me, and conveniently helped himself to the tapes and peeled off all the labels!
Labelled boys aside, we are loving our new lamp that cost virtually nothing!

I love the stained glass-like effect of the light shining through the tapes, and how the stars brighten up an otherwise plain little lamp. So if you happen to have some fairy lights collecting dust until Christmas, why not dig them out and try this project?
For more ideas for working with these decorative tapes, try popping by My Activity Room to get some inspiration from the projects posted there. In addition, 3M is organizing a workshop where you get to play with these tapes, and get more ideas on what you could do with them. If you're interested, here are the workshop details:
Scotch Make Amazing Workshop
Date: 2nd August, Saturday
Time: 2 sessions (1000-1200 or 1300-1500)
Cost: $20 per family (you will receive a starter kit of 3M products worth $40 to craft with)
Venue: Food for Thought @ National Museum
You can register for the workshop at this site, and here's a peek at what you'll get to do at the workshop:

 |
| A peek at the starter kit that you'll be receiving at the workshop! |
~~~~~~~
Oh, and good news! 3M is sponsoring a gift pack of their products (inclusive of some of these Scotch Expressions tapes) worth over $60 to THREE readers of this blog! Just follow the instructions in the Rafflecopter widget below to enter in the giveaway (please remember to leave your email address in the comments so we can contact you if you win!):
Disclaimer: We received some Scotch Expressions tapes from 3M to craft our project. No monetary compensation was received, and all opinions are my own.